Are you ready to install your new Amana washer? Proper installation is key to ensure optimal performance and longevity of your appliance. In this guide, we will walk you through the step-by-step process of setting up your Amana washer like a pro. From removing your old washing machine to connecting the water supply hoses and leveling the unit, we’ve got you covered.
Follow our Amana Washer installation instructions, setup guide, and installation steps to make the installation process seamless and hassle-free. Whether you are a seasoned DIY enthusiast or a first-time washer installer, this tutorial will provide you with all the information you need to get your Amana washer up and running.
Key Takeaways:
- Removing your old washing machine is the first step in installing your Amana washer.
- Measure the space and ensure a clean, level floor before preparing your new washing machine.
- Connect the water supply hoses carefully, avoiding overtightening and checking for leaks.
- Set up the drain hose properly, whether feeding it into a sink or a standpipe.
- Use a level to ensure your Amana washer is balanced on all sides to prevent noise and vibrations.
Prepare Your New Washing Machine
Before you start installing your new Amana washer, it’s important to prepare for the installation process. Follow these steps to ensure a smooth and successful installation.
1. Measure the Space
Begin by measuring the space where you plan to install your Amana washer. Take accurate measurements of the height, width, and depth to ensure that the washer will fit properly. This step is crucial to avoid any issues or inconveniences during installation.
2. Check the Floor
Make sure you have a clean and level floor for your Amana washer. Uneven floors can cause the washer to vibrate excessively during operation. Use a level to check the floor’s surface and make any necessary adjustments, such as adding shims, to ensure a stable installation.
3. Access to Connections
Ensure that you have easy access to the necessary connections for your Amana washer. Locate the water supply connections, drainage outlet, and electrical outlet near the installation area. This will make the installation process convenient and efficient.
4. Remove Packaging Materials
Before installing your Amana washer, remove any packaging materials that may be attached to the machine. This includes stickers, tape, and protective plastic coverings. Be sure to also remove any carriage bolts that may be holding the drum in place. Failure to remove these items can cause damage to the washer and affect its performance.
Refer to the Amana Washer installation manual for detailed instructions and diagrams on preparing your new washing machine. Additionally, you can watch an Amana Washer installation video for a visual guide on the installation process.
Connect the Water Supply Hoses
When installing your Amana washer, it is essential to connect the water supply hoses properly. Fortunately, your Amana washer should come with the necessary hoses for this task. Follow these steps to ensure a successful installation:
- Locate the appropriate connections on the back of the washing machine for the water supply hoses.
- Connect one end of the hose to the corresponding connection on the back of the washer.
- Connect the other end of the hose to the hot- and cold-water supply valves.
- Ensure the connections are secure, but be careful not to overtighten them.
- Before proceeding, make sure to double-check for any leaks around the connections.
If you encounter any issues or need additional guidance during this process, consult the Amana Washer installation help or troubleshooting guide provided by the manufacturer. It is crucial to address any problems promptly to avoid potential water damage or malfunctioning of the machine.

| Step | Instructions |
|---|---|
| 1 | Locate the appropriate connections on the back of the washing machine for the water supply hoses. |
| 2 | Connect one end of the hose to the corresponding connection on the back of the washer. |
| 3 | Connect the other end of the hose to the hot- and cold-water supply valves. |
| 4 | Ensure the connections are secure, but be careful not to overtighten them. |
| 5 | Before proceeding, make sure to double-check for any leaks around the connections. |
Set Up the Drain Hose
Properly setting up the drain hose is an essential part of installing your Amana washer. Follow these steps to ensure a secure and leak-free installation.
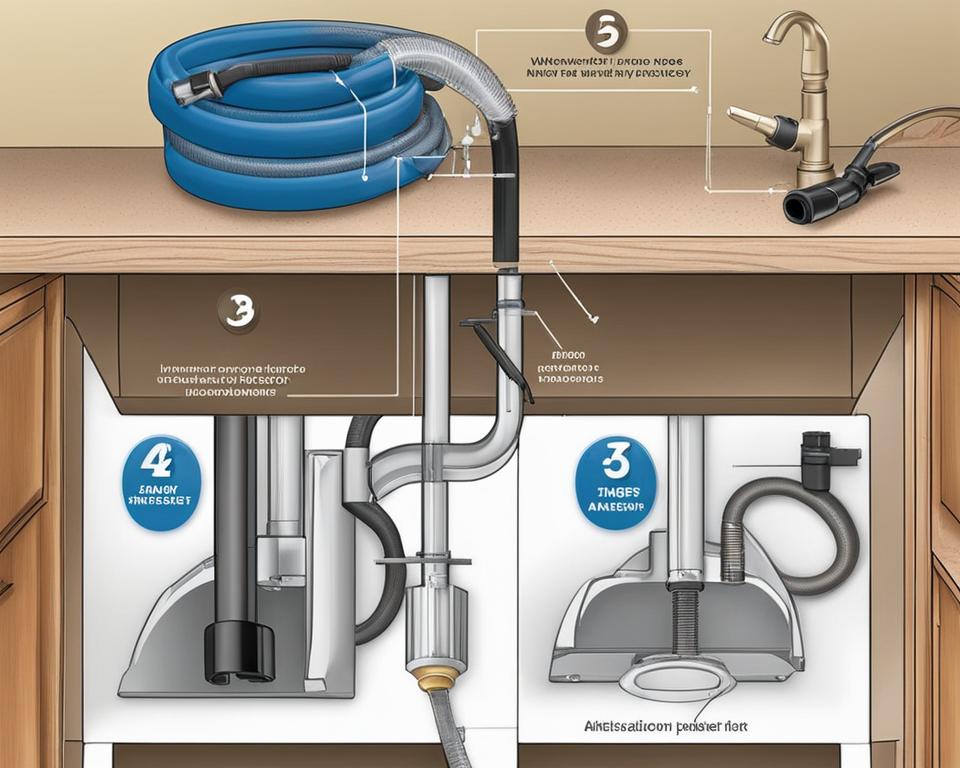
- If you are feeding the drain hose into a sink, use a plastic hose guide to keep it bent downward. This will prevent kinks or blockages in the hose, ensuring smooth drainage.
- If you have a standpipe, insert the end of the drain hose into it. The standpipe provides a dedicated outlet for the wastewater, allowing it to flow directly into the drainage system. Make sure the hose is inserted securely to prevent any leaks.
It is essential to check for leaks and make sure that the drain hose is securely connected. Leaks can cause water damage and affect the performance of your Amana washer. For added security, consider using hose clamps to ensure a tight and reliable connection.
| Step | Action |
|---|---|
| 1 | Insert the drain hose into a sink |
| 2 | Use a plastic hose guide to keep the hose bent downward |
| 3 | Check for leaks and ensure a secure connection |
| 4 | If using a standpipe, insert the hose securely |
Level the Washing Machine
Properly leveling your Amana washer is crucial to ensure optimal performance and prevent unnecessary noise and movement during operation. Follow these simple steps to level your washing machine:
- Place a level on top of your Amana washer, ensuring it is positioned in the center.
- If the level indicates that the washer is not level, adjust the legs accordingly. To raise a leg, turn it clockwise; to lower a leg, turn it counterclockwise.
- Continue adjusting the legs until the bubble on the level is centered.
- Once the washer is level, tighten the locknuts on each leg to secure them in place.
Leveling your washing machine is essential to prevent it from “walking” or vibrating excessively during use. A properly leveled machine will provide more stable and efficient performance, reducing the risk of damage to your laundry or the washer itself.
Now that your Amana washer is level, you can proceed to the next step of the installation process. Plug in the unit and start washing your laundry with confidence.
How to Hook Up a Washing Machine to a Sink
For those without designated plumbing, it is possible to hook up your Amana Washer to a sink. Here’s how:
1. Use a sink aerator thread to hose connection adapter to attach the water supply hose to the sink faucet.
2. Connect the other end of the hose to the cold-water connection on the back of the washing machine.
3. Remember to cover the unused hot-water connection to prevent leaks.
4. Finally, test the washer to ensure there are no leaks and that it runs smoothly.
By following these steps, you can easily connect your Amana Washer to a sink and enjoy the convenience of a laundry facility without dedicated plumbing.
FAQ
How do I prepare my new Amana washing machine for installation?
Before installing your new Amana washer, make sure to measure the space to ensure it will fit properly. Also, ensure that you have a clean and level floor, access to water supply connections, drainage, and an electrical outlet. Remove any packaging materials and carriage bolts from the washer.
How do I connect the water supply hoses to my Amana washer?
Your Amana washer should come with water supply hoses. Connect the hoses to the appropriate connections on the back of the washing machine and to the hot- and cold-water supply valves. Make sure not to overtighten the connections and check for any leaks.
How do I set up the drain hose for my Amana washer?
The drain hose of your Amana washer should come attached. If you are feeding the drain hose into a sink, use a plastic hose guide to keep it bent downward. If you have a standpipe, insert the end of the drain hose into it. Check for leaks and make sure the hose is secure.
How do I level my Amana washing machine?
Use a level to ensure that your Amana washer is level on all sides. Adjust the legs as needed and secure them with locknuts. This will prevent the washer from “walking” or making excessive noise during operation. Plug in the unit and start washing your laundry.
Can I hook up my Amana washer to a sink?
If you don’t have designated plumbing for your washer, you can hook it up to a sink. Use a sink aerator thread to hose connection adapter to attach the water supply hose to the sink faucet. Connect the other end of the hose to the cold-water connection on the back of the washing machine. Make sure to cover the unused hot-water connection to prevent leaks. Test the washer to ensure there are no leaks and it runs smoothly.

Leave a Reply