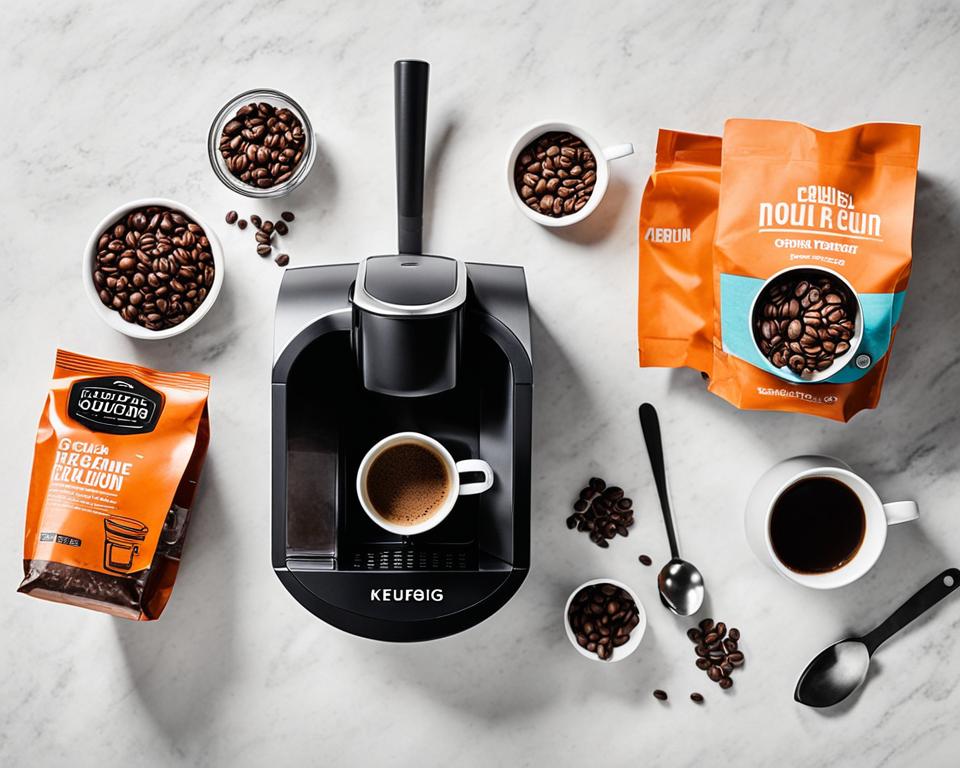
Welcome to the Keurig Machine Setup Guide! If you’ve recently purchased a Keurig coffee machine, you’re about to experience the convenience of brewing your favorite coffee at home. The setup process is straightforward and will have you enjoying a hot cup of coffee in no time. In this guide, we will provide you with step-by-step instructions on how to set up your Keurig machine, ensuring a seamless and hassle-free experience.
Key Takeaways:
- Setting up your Keurig machine is quick and easy.
- Follow the step-by-step instructions to ensure a successful setup.
- Enjoy the convenience of brewing your favorite coffee at home.
- Stay tuned for troubleshooting tips, daily brewing instructions, and regular maintenance guidance.
- By following this guide, you’ll be ready to brew your first cup of coffee with your new Keurig machine.
Troubleshooting: How to Get Rid of Plastic Taste in Your New Keurig
Sometimes, when you get a new Keurig machine, you may notice a plastic taste in your coffee, which can be quite unpleasant. However, don’t worry! There are simple steps you can take to eliminate that plastic taste and enjoy your coffee to the fullest.
Flush the System
Firstly, start by flushing the system to remove any residual plastic taste. Follow these steps:
- Fill the water reservoir with fresh water.
- Place a large mug or cup on the drip tray.
- Run multiple brew cycles using only water, without adding a K-Cup pod.
- Dispose of the water and repeat this process a few times.
Clean the Machine
Next, it’s essential to clean your Keurig machine to ensure there are no lingering plastic residues. Here’s what you need to do:
- Turn off and unplug the Keurig machine.
- Disassemble the removable parts, such as the water reservoir, K-Cup holder, and drip tray.
- Wash these parts with warm, soapy water. Rinse thoroughly.
- Use a damp cloth or sponge to clean the exterior of the machine.
- Allow all the parts to air dry completely before reassembling.
By cleaning the machine, you can ensure the removal of any plastic residues that might be causing the unpleasant taste.
Use High-Quality Water and Coffee
Another factor that can contribute to a plastic taste in your coffee is the quality of the water and coffee you use. It’s important to use filtered water and high-quality coffee beans to enhance the taste of your brew. Stick to reputable coffee brands and try different flavors to find your perfect cup of coffee.
Remember, the plastic taste in your Keurig coffee is most likely a temporary issue that can be easily resolved by following these troubleshooting steps. By flushing the system, cleaning the machine, and using high-quality water and coffee, you can eliminate that plastic taste and enjoy the full flavor of your favorite beverages.
| Steps | Description |
|---|---|
| Flush the System | Fill the water reservoir, run multiple brew cycles with water only |
| Clean the Machine | Disassemble and wash removable parts, clean the exterior |
| Use High-Quality Water and Coffee | Use filtered water and high-quality coffee beans |
How to Use Your Keurig for Daily Brewing
Now that you have successfully set up your Keurig machine, you can start enjoying freshly brewed coffee every day. Follow these simple steps to brew a perfect cup of coffee with your Keurig:
- Fill the water reservoir with fresh, filtered water. Ensure that the water level is sufficient for your desired brew size.
- Preheat your Keurig by turning it on and waiting for it to heat up. The indicator light will let you know when it’s ready.
- Select your preferred K-Cup flavor from the wide variety of options available.
- Insert the K-Cup into the pod holder, making sure it is securely in place.
- Select the brew size that suits your preference. Keurig machines usually offer multiple brew sizes, such as small, medium, and large.
- If you prefer a bolder coffee taste, check if your Keurig machine has a bold selector. Activating the bold selector will result in a stronger cup of coffee.
- Place a mug or cup on the drip tray to catch the brewed coffee.
- Press the brew button to start the brewing process.
- Wait for the brewing to complete. Your Keurig machine will automatically stop when the brewing is finished.
- Remove the brewed K-Cup from the pod holder and dispose of it properly.
- Enjoy your freshly brewed cup of coffee!
By following these simple steps, you can make your daily brewing routine effortless and enjoyable with your Keurig machine.
Keurig Brew Sizes:
Keurig machines offer a range of brew sizes to cater to different preferences:
| Brew Size | Volume |
|---|---|
| Small | 6 to 8 ounces |
| Medium | 8 to 10 ounces |
| Large | 10 to 12 ounces |
Choose the brew size that suits your caffeine needs and personal taste. Experiment with different sizes to find your perfect cup!
Keurig Brew Temperature:
The brewing temperature on most Keurig machines is set around 192°F to 197°F (89°C to 92°C). This temperature range ensures optimal extraction of flavors from the coffee grounds, resulting in a rich and delicious cup of coffee.

Regular Maintenance for Your Keurig
To ensure the longevity and optimal performance of your Keurig, regular maintenance is essential. By committing to a consistent cleaning and maintenance routine, you can keep your machine brewing delicious coffee for years to come. Here are some important maintenance tasks you should perform:
1. Cleaning the Keurig Exterior
Regularly clean the exterior of your Keurig to remove any dirt or buildup. Use a damp cloth or sponge and a mild cleaning solution to wipe down the exterior surfaces, including the housing, handle, and buttons. Avoid using abrasive cleaners or scrubbing brushes that could damage the machine. Remember to unplug your Keurig before cleaning, and always allow it to dry completely before plugging it back in.
2. Descaling Your Keurig
Over time, mineral deposits can accumulate inside your Keurig, affecting its performance and the taste of your coffee. Descaling your Keurig removes these deposits and helps maintain optimal brewing conditions. Follow the manufacturer’s instructions or use a descaling solution specifically designed for Keurig machines. Make sure to descale your Keurig regularly, especially if you live in an area with hard water.
3. Cleaning the Drip Tray and Pod Assembly
The drip tray and pod assembly can collect coffee residue and other debris over time. To keep them clean, remove the drip tray and pod assembly from your Keurig and wash them with warm, soapy water. Use a soft brush or sponge to gently scrub away any stubborn stains or residue. Rinse thoroughly and allow them to air dry before reassembling and returning them to your Keurig.

Regular maintenance is key to ensuring your Keurig continues to deliver delicious, hassle-free coffee. By following these simple cleaning and maintenance tasks, you can enjoy your Keurig for years to come!
Draining the Internal Water Tank of Your Keurig
At some point, you may need to drain the internal water tank of your Keurig coffee maker. Whether it’s for cleaning, maintenance, or troubleshooting, draining the water tank is a simple process that you can do at home. Here’s a step-by-step guide on how to drain the water tank of your Keurig:
1. Start by unplugging your Keurig machine from the power source. Safety first!
2. Locate the water tank at the back of the machine. You may need to remove the lid or water reservoir depending on your specific Keurig model.
3. Once you have access to the water tank, carefully pour out any leftover water into the sink or a suitable container. Take your time, as you want to ensure all the water is properly drained.
4. If you want to completely empty the water tank, you can tilt your Keurig machine or gently tap it to remove any remaining water. Be careful not to damage any internal components during this process.
With these simple steps, you can easily drain the internal water tank of your Keurig coffee maker. Whether you’re preparing for maintenance or troubleshooting, this process helps ensure your Keurig functions optimally. Remember to follow the manufacturer’s instructions and refer to your specific Keurig model’s manual for any additional guidance.
FAQ
What are the step-by-step instructions for setting up a Keurig coffee machine?
Setting up a Keurig machine is a simple process. First, unpack the machine and remove any packaging materials. Next, plug in the machine and fill the water reservoir with fresh, clean water. Place a mug on the drip tray and run a water-only brew cycle to cleanse the system. Finally, your Keurig machine is ready to use.
How can I get rid of the plastic taste in my new Keurig?
If you notice a plastic taste in your coffee when using a new Keurig machine, don’t worry. Simply follow these steps to remove the plastic taste: Fill the water reservoir with distilled vinegar and run a brew cycle without a K-Cup. Rinse the machine by running multiple brew cycles with clean water. This process will help eliminate any lingering plastic taste.
How do I brew a cup of coffee using my Keurig?
Brewing a cup of coffee with your Keurig is quick and easy. First, ensure that the water reservoir is filled with water. Then, place a K-Cup of your choice into the K-Cup holder. Select your desired brew size, and press the brew button. Your Keurig will start brewing hot, delicious coffee in no time.
What maintenance tasks should I perform to keep my Keurig in good working condition?
Regular maintenance is essential for the optimal performance of your Keurig machine. Some important maintenance tasks include descaling the machine every three to six months to remove mineral deposits, cleaning the exterior of the machine with a damp cloth, and cleaning the drip tray and pod assembly regularly to prevent clogs and ensure smooth operation.
How can I drain the internal water tank of my Keurig?
If you need to drain the internal water tank of your Keurig, follow these steps: First, turn off and unplug the machine. Place a mug on the drip tray. Press and hold the brew button until all the water is dispensed into the mug. Repeat this process until the water tank is empty. Remember to discard the water from the mug after each cycle.
Leave a Reply