Proper maintenance is crucial for keeping your Keurig coffee maker in top shape and ensuring the best-tasting brew every time. By following these maintenance tips and guidelines, you can extend the lifespan of your Keurig and enjoy a consistently delicious cup of coffee.
Key Takeaways:
- Regular maintenance is essential for the longevity and optimal performance of your Keurig coffee maker.
- Set up your Keurig coffee maker properly by following the instructions provided in the user manual.
- Regularly clean the external surfaces and internal components, including the water reservoir, drip tray, and K-Cup pod holder.
- Refer to the troubleshooting guide for common issues and learn how to resolve them.
- Descaling your Keurig coffee maker every 3-6 months is necessary to remove mineral deposits.
Setting Up Your Keurig Coffee Maker
Getting your new Keurig coffee maker up and running is a simple process that ensures you’ll be enjoying a perfect cup of coffee in no time. Follow these step-by-step instructions to set up your Keurig and start brewing delicious coffee.
- Remove any packing materials from your Keurig coffee maker.
- Position the machine on a clean, flat surface near a grounded outlet.
- Insert the plug into the outlet and make sure the machine is powered off.
- Refer to the user manual to properly install the water reservoir. This is typically done by lifting the handle and attaching the reservoir to the back of the machine.
- If your Keurig model supports it, insert a water filter into the reservoir to enhance the water quality. This step is optional but recommended for better-tasting coffee.
- Before plugging in the coffee maker, ensure that the power switch is in the “off” position.
- Once everything is set up, plug the machine into the outlet.
- Power on your Keurig coffee maker by switching the power button to the “on” position.
By following these setup instructions, you’ll have your Keurig coffee maker ready to brew your favorite beverages. The table below summarizes the setup steps for easy reference:
| Setup Steps |
|---|
| 1. Remove packing materials |
| 2. Position the machine |
| 3. Plug into a grounded outlet |
| 4. Install the water reservoir |
| 5. Optional: Insert a water filter |
| 6. Ensure the power switch is off |
| 7. Plug in the machine |
| 8. Power on the Keurig |
With your Keurig coffee maker correctly set up, you’re now ready to brew your first cup of coffee. Enjoy the convenience and rich flavors that Keurig offers!
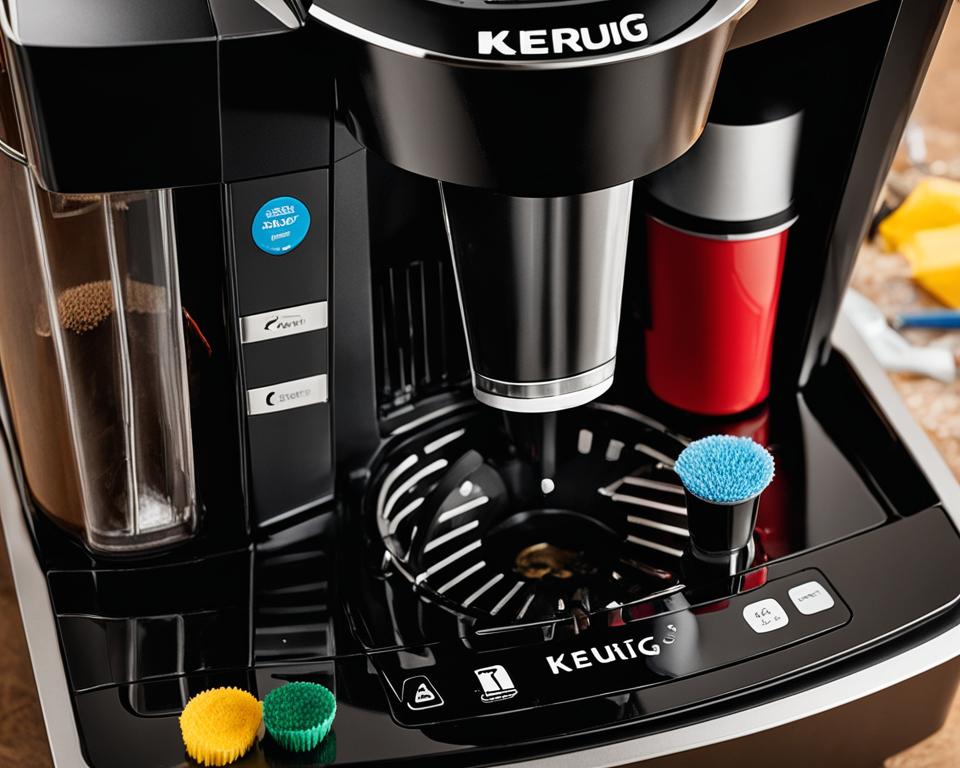
Regular Cleaning and Maintenance
Regular cleaning is crucial for keeping your Keurig coffee maker in optimal condition. By following a consistent cleaning and maintenance routine, you can ensure that your machine consistently brews delicious cups of coffee. Here are some essential cleaning and maintenance tips for your Keurig coffee maker:
1. Clean the External Surfaces
Start by regularly wiping down the external surfaces of your Keurig coffee maker with a damp cloth. This will remove any dust, spills, or coffee stains and keep your machine looking clean and presentable.
2. Remove and Clean the Water Reservoir
Periodically remove the water reservoir from your Keurig coffee maker and clean it thoroughly. Wash it with warm, soapy water, rinse it well, and allow it to dry completely before reattaching it to the machine. This step helps prevent any buildup of residue or bacteria in the water reservoir.
3. Clean the Drip Tray and K-Cup Pod Holder
Regularly remove the drip tray and K-Cup pod holder from your Keurig coffee maker and wash them with warm, soapy water. Rinse them thoroughly and allow them to dry before placing them back into the machine. This prevents any coffee grounds or residue from accumulating and affecting the taste of your coffee.
4. Descaling the Machine
One of the most important maintenance tasks for your Keurig coffee maker is descaling it every 3-6 months. Over time, mineral deposits can build up inside the machine and affect its performance. Follow the descaling instructions provided by Keurig, using either a Keurig descaling solution or white vinegar, to dissolve these deposits and keep your machine running smoothly.
Regular cleaning and maintenance are key to ensuring the longevity and optimal performance of your Keurig coffee maker. By incorporating these tips into your routine, you can continue to enjoy delicious cups of coffee every time you brew.
Troubleshooting Common Issues
Keurig coffee makers are known for their convenience and delicious brews. However, like any appliance, they can encounter some common issues that may hinder your coffee experience. Understanding how to troubleshoot these problems can help you quickly fix them and get back to enjoying your favorite cup of joe.
Brewing Inconsistencies
One of the most common issues that Keurig users face is brewing inconsistencies. If you notice that your coffee is too weak or too strong, or if the brew size is incorrect, there are a few troubleshooting steps you can take:
- Check the water reservoir: Ensure that it is properly filled with water.
- Clean the K-Cup pod holder: A dirty or clogged pod holder can affect the brewing process. Remove the holder and clean it thoroughly.
- Check the K-Cup: Make sure the K-Cup is not damaged or expired. Try using a different K-Cup to see if the issue persists.
- Run a water-only brew cycle: Sometimes, trapped air bubbles can cause brewing inconsistencies. Run a few water-only brew cycles to eliminate any air bubbles.
Error Messages and Clogs
If your Keurig displays an error message or gets clogged, here are some troubleshooting steps you can take:
- Refer to the Keurig user manual: Error messages usually come with specific instructions on how to resolve the issue.
- Unclog the needles: Over time, coffee grounds and debris can accumulate in the needles, causing clogs. Follow the user manual’s instructions to unclog and clean the needles.
- Reset the machine: Unplug the Keurig from the power source, wait for a few minutes, and plug it back in. Resetting the machine can sometimes resolve minor issues.
- Contact Keurig customer support: If all else fails, don’t hesitate to reach out to Keurig’s customer support for further assistance.
By following these troubleshooting steps, you can easily fix common issues with your Keurig coffee maker and continue enjoying high-quality coffee at home.

| Common Keurig Issues | How to Fix |
|---|---|
| Brewing inconsistencies | – Check water reservoir – Clean K-Cup pod holder – Check K-Cup – Run water-only brew cycles |
| Error messages and clogs | – Refer to user manual – Unclog needles – Reset the machine – Contact customer support |
Descaling Your Keurig Coffee Maker
Descaling is an essential maintenance task for removing mineral deposits and ensuring the optimal performance of your Keurig coffee maker. Over time, mineral buildup from water can clog the internal components of your machine, resulting in slower brewing times and a less flavorful cup of coffee. To keep your Keurig running smoothly and to preserve the quality of your brews, regular descaling is crucial.
There are two common methods for descaling your Keurig: using a Keurig descaling solution or white vinegar. Both options are effective in breaking down mineral deposits and can be easily done at home. Follow the step-by-step instructions below to descale your Keurig coffee maker:
- Start by ensuring that your Keurig is powered off and unplugged.
- Remove the water reservoir, the drip tray, and any remaining K-Cup pods.
- Fill the water reservoir halfway with the descaling solution or a mixture of white vinegar and water. If using vinegar, mix equal parts vinegar and water.
- Place a large mug or cup on the drip tray to collect the descaling solution.
- Start the brew cycle without inserting a K-Cup pod. Allow the machine to run until the reservoir is empty, collecting the descaling solution in the mug or cup.
- Once the cycle is complete, discard the descaling solution and thoroughly rinse the water reservoir.
- Fill the water reservoir with clean water and repeat the brewing process to flush out any remaining descaling solution or vinegar.
- Continue the flushing process until the water reservoir is empty.
- Reassemble the Keurig by reattaching the water reservoir and drip tray.
Descaling should be done every 3-6 months, or more frequently if you have hard water. If your Keurig displays a descaling reminder, it’s important to follow the instructions promptly to maintain the performance and longevity of your machine.

Regular descaling not only improves the taste and quality of your brewed coffee but also helps prolong the lifespan of your Keurig coffee maker. By following these descaling instructions, you can keep your machine running smoothly and enjoy delicious cups of coffee with every brew.
Replacing Filters and Parts
To maintain the quality of your brewed coffee and ensure the optimal performance of your Keurig coffee maker, regular replacement of filters and worn-out parts is essential. By following the recommended maintenance schedule, you can enjoy consistently excellent tasting coffee and prolong the lifespan of your machine.
1. Water Filter Cartridge Replacement
The water filter cartridge in your Keurig coffee maker should be replaced every two months to ensure the removal of impurities and maintain the freshness of the water used for brewing. Consult the user manual or Keurig’s website for specific instructions on how to replace the water filter cartridge.
2. K-Cup Pod Holder Cleaning and Replacement
The K-Cup pod holder is prone to build-up of coffee residue, which can affect the taste of your brewed coffee. It is recommended to clean the holder regularly by removing any visible debris and rinsing it with warm soapy water. If the build-up is stubborn or affecting the functionality, consider replacing the K-Cup pod holder altogether. Refer to the user manual or Keurig’s website for instructions on cleaning and replacing the K-Cup pod holder.
3. Brewer Needles Functionality
The brewer needles on your Keurig coffee maker are responsible for puncturing and extracting the flavors from K-Cup pods. Over time, these needles can get clogged with coffee grounds or mineral deposits, leading to brewing inconsistencies. Inspect the brewer needles regularly and clean them using a paperclip or Keurig-approved cleaning tool if necessary. Ensure that the needles are functioning properly to maintain the quality of your brew.
By regularly replacing filters and parts, you can ensure that your Keurig coffee maker continues to deliver excellent-tasting coffee cup after cup. Refer to the user manual or Keurig’s website for detailed instructions specific to your model.
Tips for Prolonging the Life of Your Keurig Coffee Maker
Regular cleaning and maintenance are essential for ensuring the longevity and optimal performance of your Keurig coffee maker. However, there are also additional tips and tricks that can help maximize the lifespan of your beloved machine. By following these guidelines, you can enjoy delicious cups of coffee from your Keurig for years to come.
First and foremost, it is important to use filtered water when brewing coffee with your Keurig. Filtered water helps minimize the build-up of mineral deposits and sediment in the internal components, which can affect the machine’s performance and lifespan. Additionally, avoid using distilled water as it lacks the necessary minerals that contribute to the taste and quality of your brew.
Another important factor in prolonging your Keurig’s life is to keep it in a dry environment. Moisture can lead to mold and mildew growth, which can damage the internal parts of your machine. Make sure to wipe the exterior surfaces dry after each use and store it in a cool and dry place when not in use.
Lastly, proper storage is crucial in maintaining the integrity of your Keurig coffee maker. Before storing, ensure that the machine is clean and dry. It is also recommended to remove the water reservoir, empty it, and store it separately. This precaution prevents the growth of bacteria or other contaminants in the reservoir during prolonged periods of non-use.
FAQ
How do I set up my Keurig coffee maker?
To set up your Keurig coffee maker, remove any packing materials, plug it into a grounded outlet, and follow the user manual instructions to install the water reservoir, insert a water filter if necessary, and power on the machine.
How often should I clean my Keurig coffee maker?
It is recommended to clean your Keurig coffee maker regularly. This includes cleaning the external surfaces, removing and cleaning the water reservoir, drip tray, and K-Cup pod holder, and descaling the machine every 3-6 months.
What should I do if I encounter issues with my Keurig coffee maker?
If you encounter issues with your Keurig coffee maker, refer to the troubleshooting guide provided by Keurig. It provides solutions for common problems such as clogs, brewing inconsistencies, and error messages.
How do I descale my Keurig coffee maker?
Descaling your Keurig coffee maker is essential for removing mineral deposits. You can use a Keurig descaling solution or white vinegar. Follow the step-by-step instructions provided by Keurig to ensure a thorough cleaning of the internal components.
When should I replace filters and parts in my Keurig coffee maker?
It is important to regularly replace filters and worn-out parts in your Keurig coffee maker. This includes replacing the water filter cartridge every two months, cleaning and replacing the K-Cup pod holder, and ensuring proper functioning of the brewer needles.
How can I prolong the life of my Keurig coffee maker?
To prolong the life of your Keurig coffee maker, use filtered water instead of distilled water, keep the machine in a dry environment, and store it properly when not in use. These tips can help maximize the lifespan of your Keurig.
Leave a Reply